"This should be illegal. I mean, I should be arrested for eating this."
That's a direct quote from my mother, spoken yesterday at 8:42 a.m.
We consider this our new favorite dessert.
Or breakfast, cause that's the way we roll sometimes.
We haven't been arrested by the Incredibly-Dreamy-Cheesecake Police yet. And by Incredibly-Dreamy-Cheesecake Police I mean that the cheesecake is incredibly dreamy, not the police. I haven't seen them yet to make that judgement.
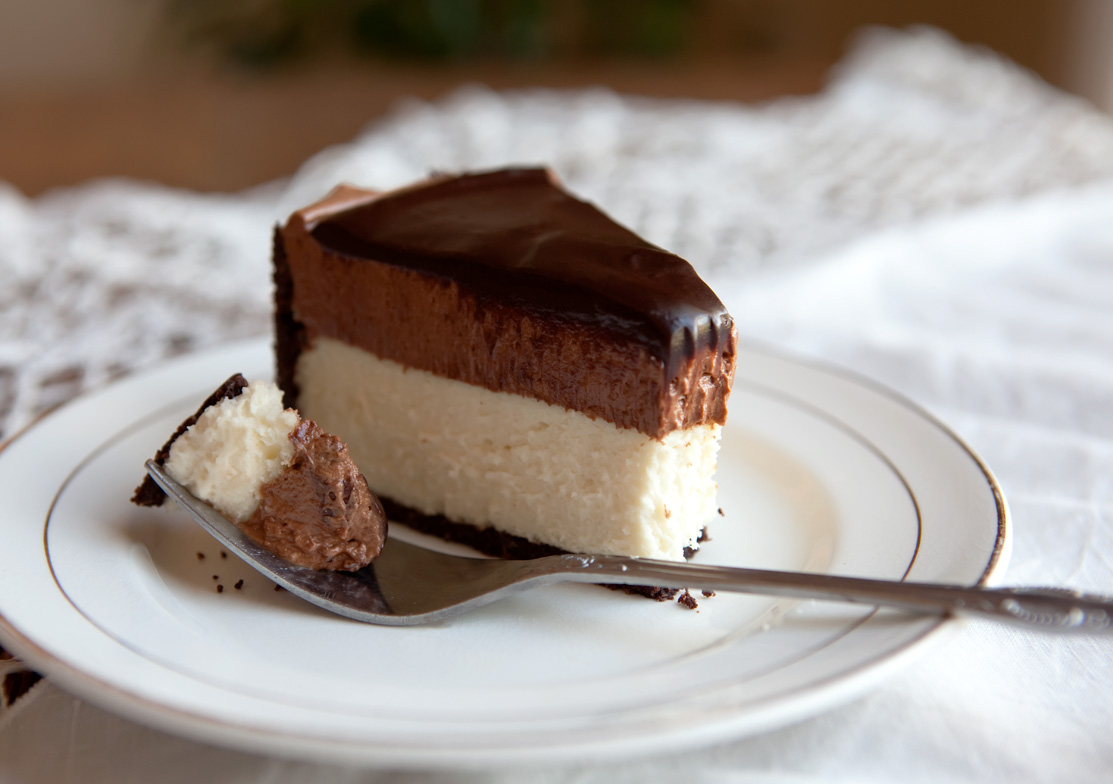
The only judgement I have been able to make is that this cheesecake really is dreamy. It is decadent. It is smooth and silky with a slight crunch from the crust. Rich. Every layer compliments each of the others brilliantly. It is simple perfection.
Yes, there are a lot of steps to making this cheesecake, but I guarantee it will be so worth it.
... Even if the cheesecake police that come to arrest you aren't all that dreamy. At least the cheesecake you made was. ;)
Notes: Read through the entire recipe before beginning. I repeat: Read through the entire recipe before beginning! You'll need to plan a few things in advance, such as having softened butter and cream cheese around, time for the cheesecake to completely cool, etc.
Creamy Cheesecake adapted from Dori Greenspan
Chocolate Mousse Cheesecake
bottom layer - chocolate cookie crust
1 cup whole-wheat pastry flour
1/2 cup + 1 tablespoon unsweetened cocoa
1/4 teaspoon baking soda
1/4 teaspoon salt
4 tablespoons unsalted butter, at room temperature
1/4 cup brown sugar
1/3 cup granulated sugar
1 teaspoon vanilla
4 tablespoons milk
3 tablespoons unsalted butter, melted
Preheat oven to 350°F. Place a piece of parchment on a baking sheet. Set aside. Line the bottom of a 9-inch springform pan with a parchment round, then lightly butter the pan and parchment. Set aside.
In a medium bowl, whisk together the flour, cocoa, baking soda, and salt. Set aside.
In a medium bowl, beat the softened butter and sugars until light and creamy. Add the vanilla and milk and mix until well combined. (Mixture may look curdled.) On low speed, add the flour mixture just until incorporated.
Use a small cookie scoop to drop little mounds of dough onto the parchment-lined baking sheet. Using lightly floured hands, press the mounds of dough into 1/4-inch flat disks. (Don’t worry about making these too neat - you’ll be grinding them up shortly.) Bake the cookies for 10 minutes, until the cookies puff and then settle slightly when done. Remove cookies from the baking sheet and let cool to room temperature.
Place cooled cookies in a food processor. Process until cookies are evenly and finely crushed. Pour the melted butter on top of the crushed cookies and pulse until well mixed. Dump the cookie mixture into the parchment-lined springform pan. Press the mixture evenly up the sides of the pan, then evenly over the bottom.
Wrap the bottom of the springform pan in a double layer of aluminum foil. Place the crust in the freezer for 10 minutes. Remove the crust from the freezer and bake for 10 minutes, until set and dry to the touch. Let the crust cool on a wire rack while you make the cheesecake.
layer 2 - creamy cheesecake
1 pound (2 8-ounce packages) cream cheese, at room temperature
2/3 cup granulated sugar
1/4 teaspoon salt
1 teaspoon vanilla
2 eggs, at room temperature
2/3 cup heavy cream
Decrease oven temperature to 325°F. Put a pot of water on the stove top boil.
Working in a stand mixer fitted with the paddle attachment, beat the cream cheese at medium speed until it is very soft and smooth, about 4 minutes. Add the sugar and salt, and continue to beat at medium speed for another 4 minutes or so, until the cream cheese is light. Beat in the vanilla. Add the eggs one by one, beating for a full minute after each addition to yield a well-aerated batter. Reduce the mixer to low speed and mix in the heavy cream.
Give the batter a few stirs with a rubber spatula to make sure that nothing has been left
unmixed at the bottom of the bowl. Scrape the batter into the cooled cookie crust. The batter should fill about half way up the pan. Place the springform pan in a roasting pan large enough to give at least a 1-inch space between the cheesecake and the roasting pan. Place in the center of the oven and then carefully pour the boiling water into the roasting pan to come halfway up the sides of the springform pan.
Bake the cheesecake for about 45 minutes, at which point the top will be ever so slightly browned and the cheesecake will have puffed a little. The best way to tell if your cheesecake is done is to insert a thermometer into the center; it should read 150°F. Remove cheesecake from from the roaster pan - be careful of the hot water - and remove the foil. Place cheesecake on a wire rack. Prop a large bowl over the cheesecake, leaving a 1-inch crack to let the cheesecake cool slowly.
When the cake is cool, cove with plastic wrap and chill in the refrigerator for at least 4 hours, or overnight.
*** Make the mousse once the cheesecake has cooled.***
layer 3 - french chocolate mousse
6 ounces semi-sweet chocolate, chopped
3 tablespoons unsalted butter
3 eggs, separated
1/2 teaspoon cream of tartar
1/4 cup + 2 tablespoons granulated sugar
1/2 cup heavy cream, cold
1/2 teaspoon vanilla
Set a heat proof bowl over a saucepan of gently simmering water. Put the chocolate and butter into the bowl. Melt the chocolate and butter together, stirring with a whisk, until smooth. Remove from heat and cool slightly. Add the egg yolks to the chocolate one by one, beating with a whisk until incorporated. Set aside.
In another bowl, beat the egg whites until foamy. Add the cream of tartar and continue to beat. Gradually add in 1/4 cup granulated sugar and continue beating until stiff peaks form. Set aside.
In another bowl, beat the heavy cream until it begins to foam. Add the vanilla and remaining
2 tablespoons sugar. Continue to whip the cream until it holds soft peaks. Set aside.
Gently fold 1/4 of the egg whites into the chocolate mixture to lighten it. Fold in the remaining egg whites. Then, delicately fold in the whipped cream. Take care to not over work the mousse, but make sure the cream is blended in well.
Using a rubber spatula, spread the mousse on top of the cooled cheesecake while still in the springform pan. Cover with plastic wrap.
*** If making the ganache immediately, place the mousse-covered cheesecake in the freezer as you make the ganache. (The cheesecake should NOT be in the freezer for more than 30 minutes.) If making the ganache later, place the cheesecake in the refrigerator for a few hours. ***
top layer - ganache
1/2 cup heavy cream
5 ounces bittersweet chocolate, chopped
1 teaspoon vanilla
Place the chopped chocolate and vanilla in a small bowl. Set aside.
Heat the cream in a small sauce pan over medium-low heat until the point just before it boils. Pour hot cream over chocolate and vanilla. Whisk the mixture until smooth. Allow ganache to cool for about 15 minutes.
Remove mousse cheesecake from the freezer or refrigerator. With an offset spatula, smooth the ganache while starting at the center of the cake and working outward. Be aware that the cold temperature of the cake will cause the ganache to firm up, so work fairly quickly.
Release the springform pan and cut cheesecake with a sharp knife to serve. Store cheesecake in the refrigerator, covered tightly with plastic wrap.
Yield: 1 9-inch cheesecake, serving 10-12